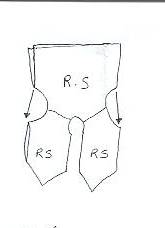
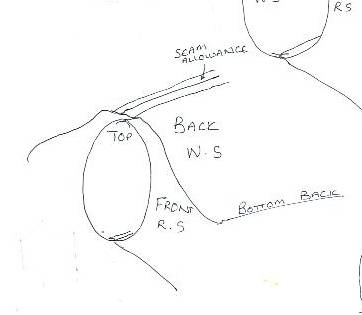
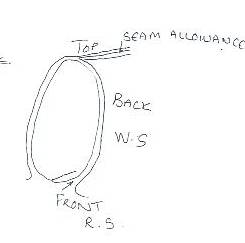
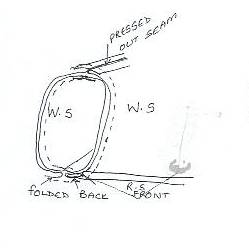
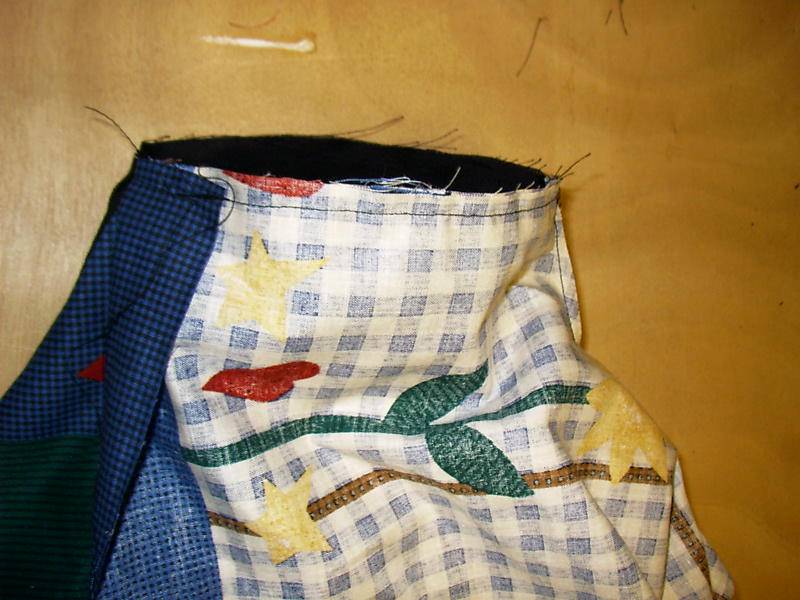
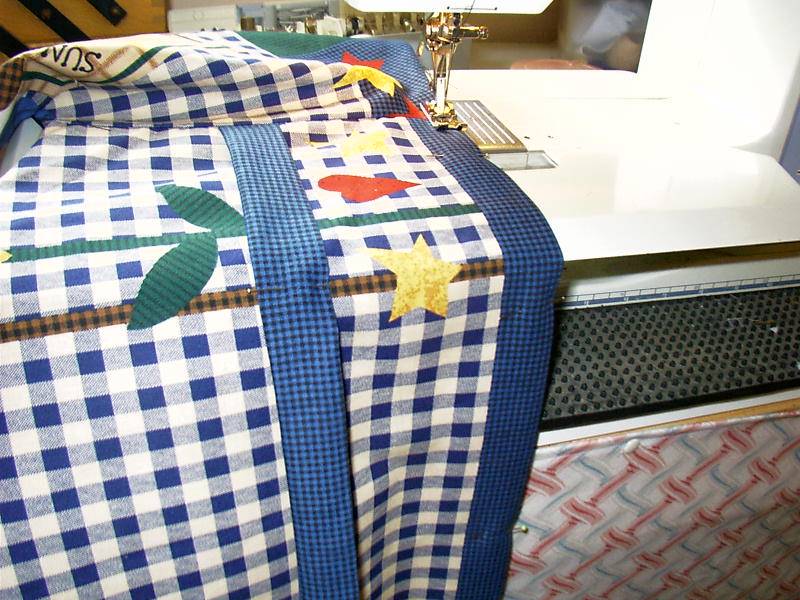
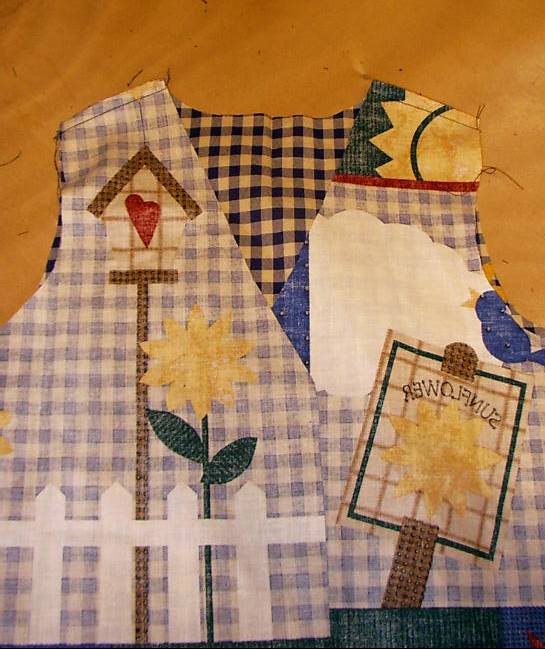
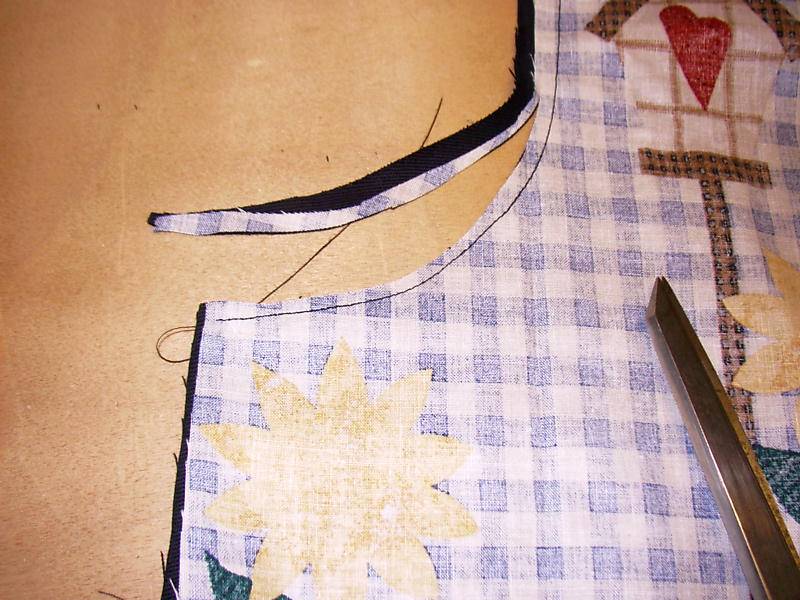
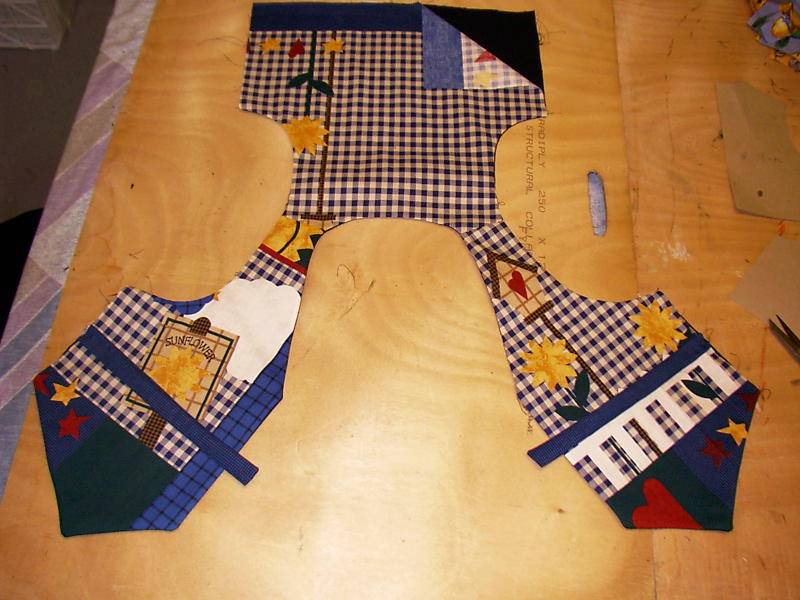
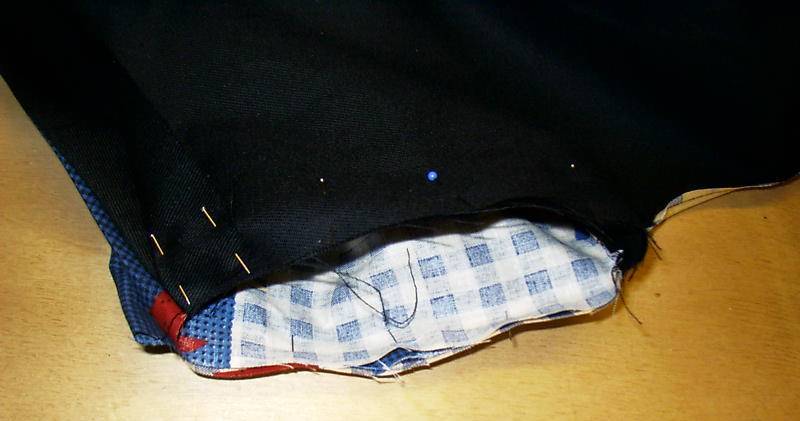
The fabric I have used in the photos for this is
Sunflowers by Dreamworks. I have used it to show the
construction because it has a coloured back, and I hope it will
make it easier to tell which bits are which when they are inside
out and pinned into funny positions. I have cut it down to a 6/8
year old size as I mainly work in childrens sizes.
1. Fold back ties in half and sew across one end
and down one side.
Turn through and press. Pin to the Right side of the
fronts at waist height.
2. Sew the sholder seams Right Side together both for the
linnings and outsides.
3. Press flat and place right sides together. pin and have it laid
out flat
with the fronts pointing at you . You need to sew the arm hole
curves which
are on both sides as you look at it, and around the front bottom
edge from
the right hand side as you are looking at the piece keep sewing all
the way
around, up the front, around the neck and down the other front until
you get
to the end on the left side. DON'T sew up the sides or the bottom
edge of
the back.
4. Trim the sewed edges and turn out the garment through the
bottom.
5. Turn through and press.
6. This is the most complicated piece to explain.Pick up the
garment by the sholder seams it should look like a Vest/
waistcoat, The two open side seams should be near each other, the
fronts will have a tubular effect as the bottom edge of the front
has been sewn and the back will be joined by only one seam. So with
the different outer fabric and linning fabric you should see which
goes with which.
Match the seams at the under armright sides with
right sides
together, pin the linning to the outside down the coulered
front ( I am
asuming the fronts are contrasting to the linning)
Starting at the top of the front side pin the fronts to the linning
R Sides together, do this all the way down to the bottom, when you
arrive at the bottom edge, which is not joined to any thing you
should turn the excess back on itself. This makes the seam allowance
if you had stitched the bottom backs together, don't worry this will
turn up inside when
you are finished . Make sure you catch the ties into the front to
front linning seam on both sides, they will be fixed permenantly in
this seam.
Pin the back linning to the outside back in the same way,So that you
end up with a tube type effect, the bottom back edges meet each
other but are folded back to look as if you had sewn them together
earlier.
Just try and remember you are going to sew the bottom back seam last
of all so it's alright if it looks strange at this point! Honestly.
Sew around what you have pinned/ basted, this is similar to setting
in a
sleeve, if it's a small vest this could be tight to turn.(I do 12
months old
size that are tight but not impossible). Repeat on the other side.
7. Now if you give the whole thing a good tug across the bottom of
the back, it should turn through to the right side and the bottom of
the back should be the only seam left open.
you should be able to press and sew straight across. 
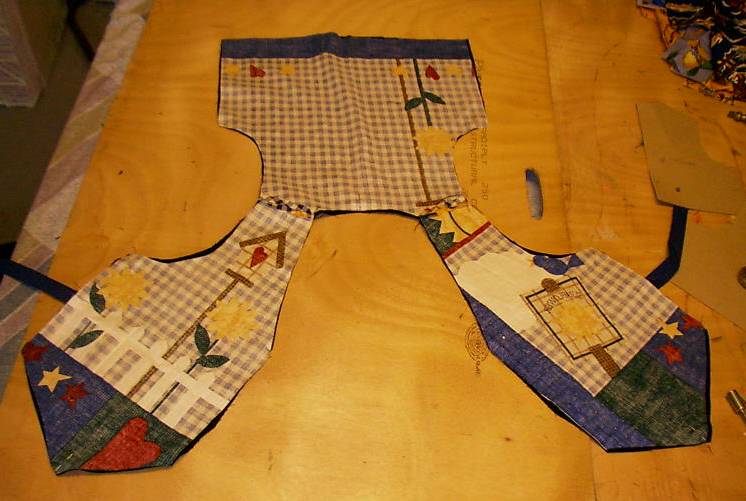
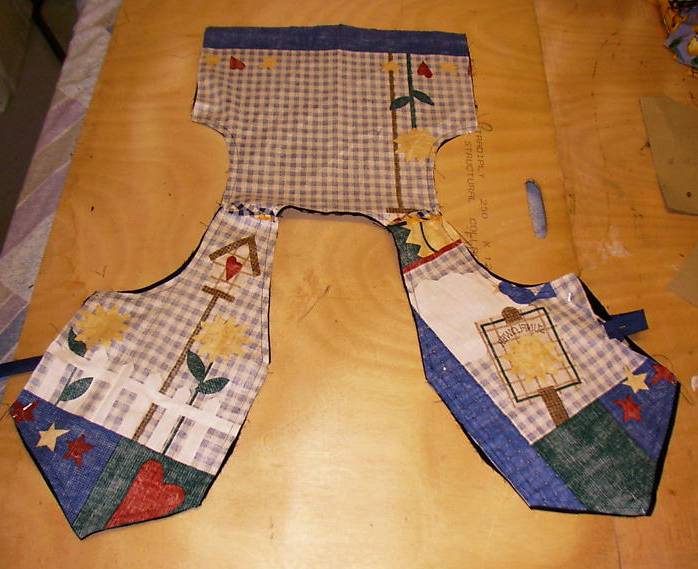
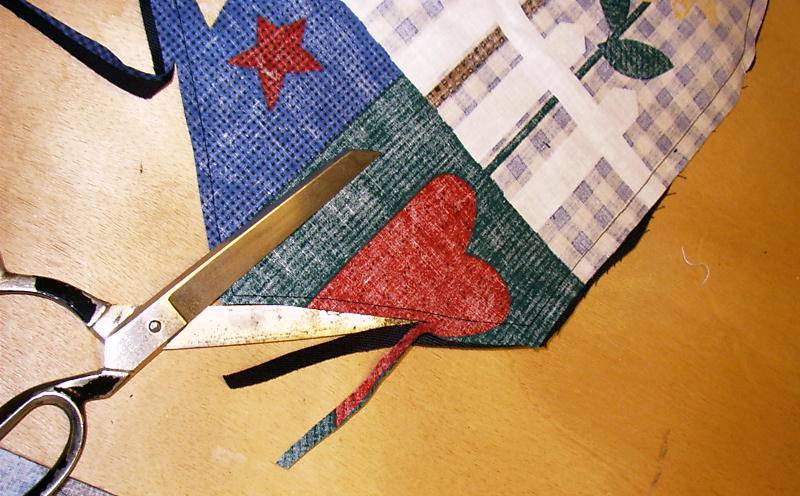
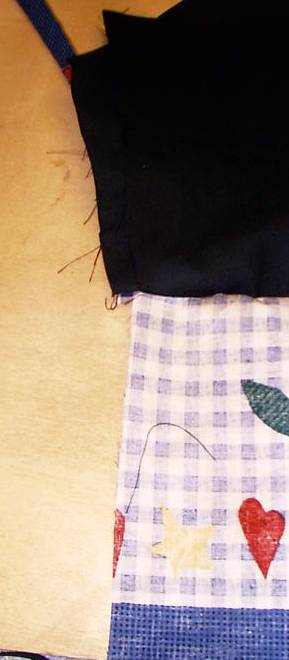
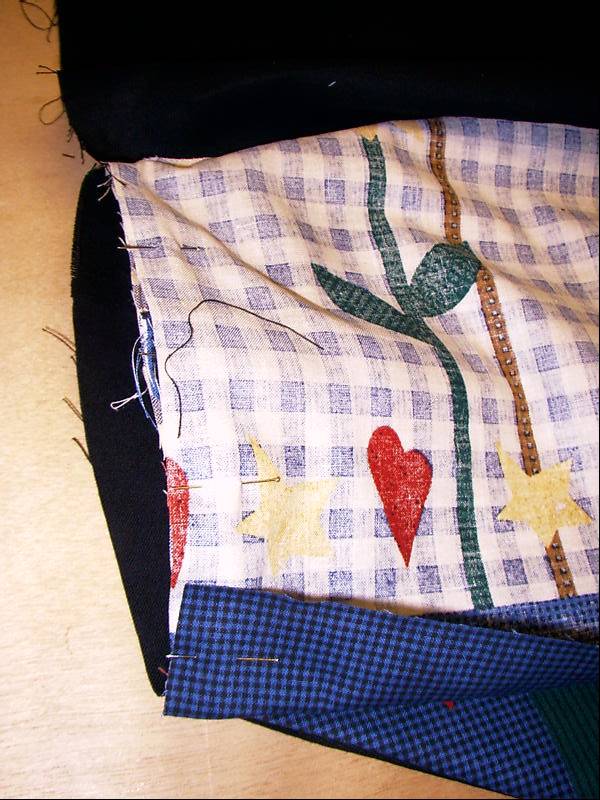
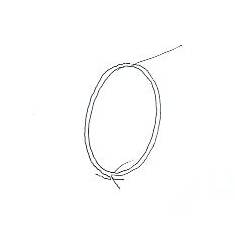
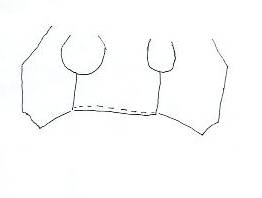
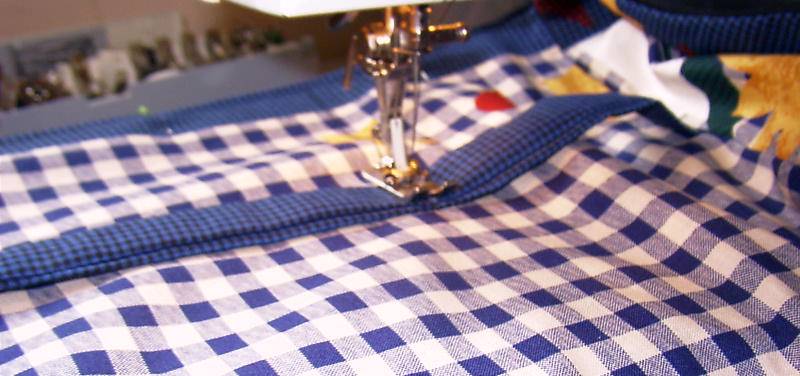
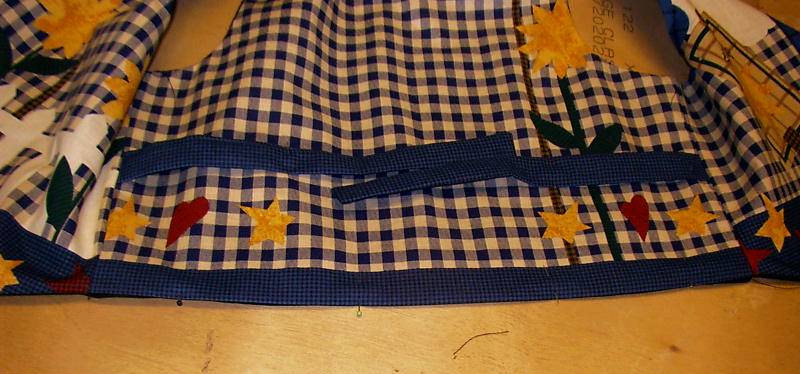
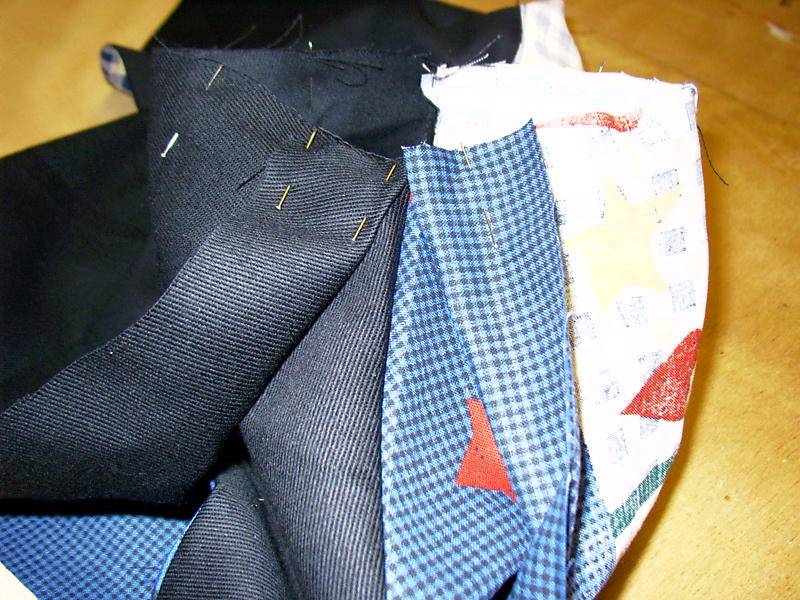
Also at this point I pin the ties about
halfway along across the back .
Sew the bottom back and sew the ties down also, sewing the ties in
this way stops them slipping down when they are tied.
Press, and apart from the buttons you are finished.